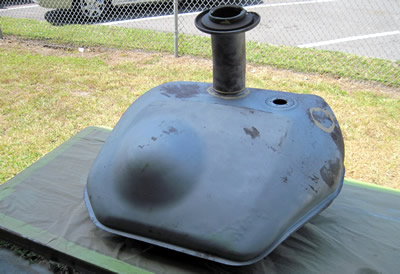
Here's the original tank.
|
Here's more or less of the original tank.
|
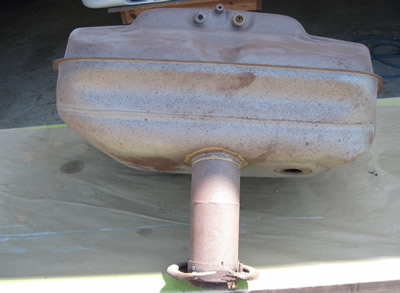
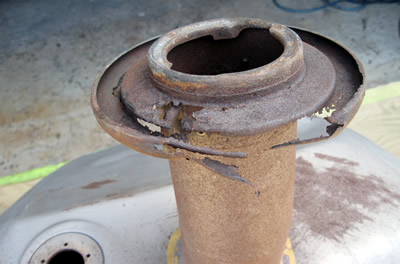
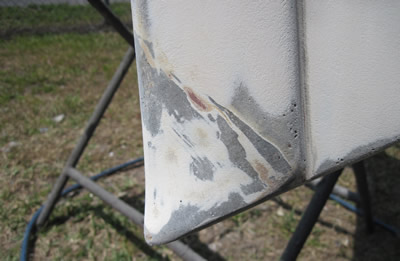
Things got wet, things got rusty. Who knows if we'll ever know the whole story of how long this thing sat without paint.
|
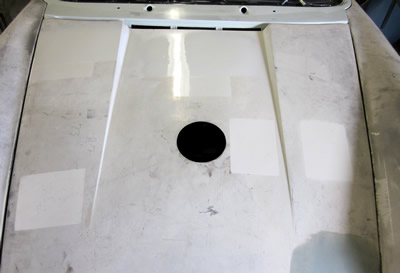
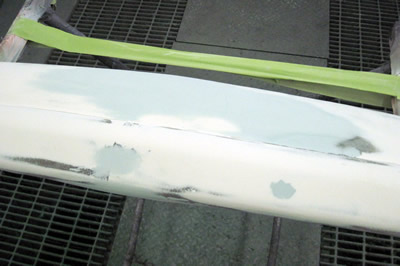
So we have original paint on the original hood. We do love patina, but you can only go so far with keeping something original. The hood already had bondo spread on it when I got it. It also had massive amounts of paint bubbles from the heat.
|
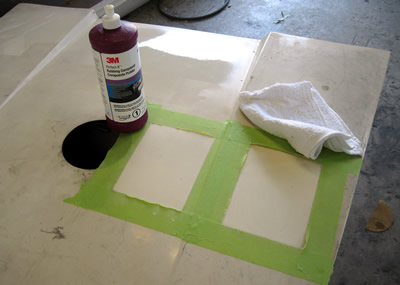
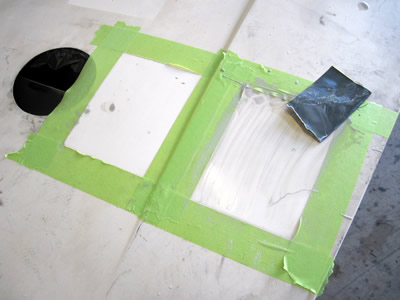
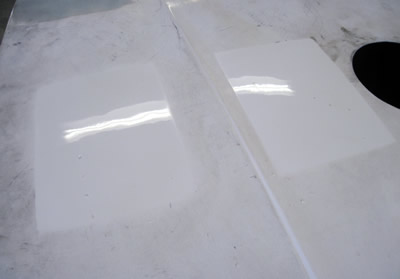
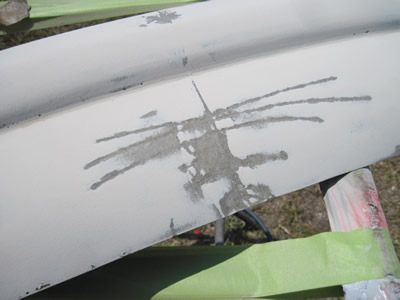
In these two pictures you can see that we've cleaned the original paint surface so we can take a laser reading to try to come close to a paint formula.
|
Sometimes it's easy to say "Why...they must have used flat paint because it looks flat in the pictures." not true. There is no reason to use flat paint, Porsche just used bad paint. This was a race car and you don't need to use the good stuff on this.
|
I have put flattener in paint used on many of Gunnar Racing's restorations, but I don't make it look chalky. This is as close to any white color paint used on any Prototype or 911R I have seen because it's original. I might add a little flattener because current urethane paint is definitely way too shiny and deep.
|
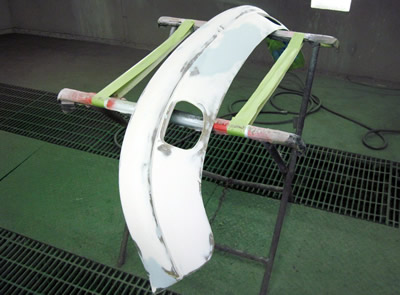
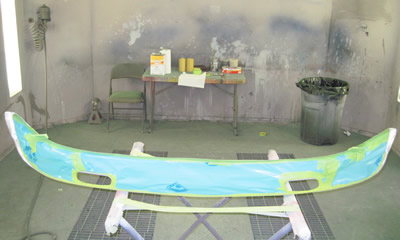
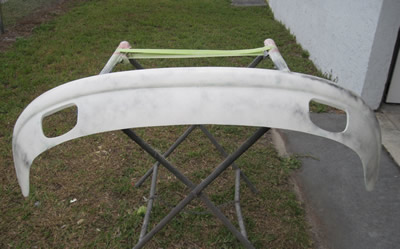
The front bumper is ready for white Duratech. The great thing about Duratech is that it's polyester, it comes in white, and it's a great primer filler. When the primer is applied and then the bumper is painted white you'd be hard pressed to think the white base is not original white gel coat. Kinda a fake job, but the best way to be done.
|

Here are the star bolts that hold on the bumper brackets..... Oh yeah, did I tell you that the brackets are aluminum!?
|

This bumper is very original and we will leave the original look, but we will paint the inside.
|
911R has a fiberglass fender bracket, not steel or aluminum. Check out the workmanship. This is how fiberglass work was done in the day and not just in Germany. Americans and Spaniards and Frenchman, and let's not forget our Mexican brothers next door, did it the same way. My how things have changed with the new glorified fiberglass...CARBON FIBER!
|
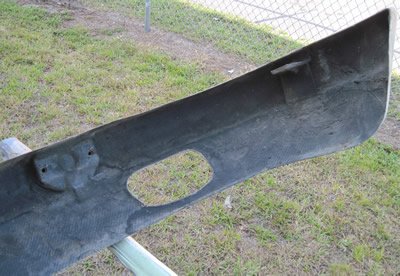
Another shot of the inside.
|
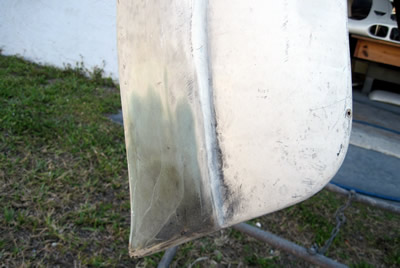
This photo shows the extension glued to the edge for the slight flare of the front fender.
|
This shot shows some of the bubbles from the heat.
|
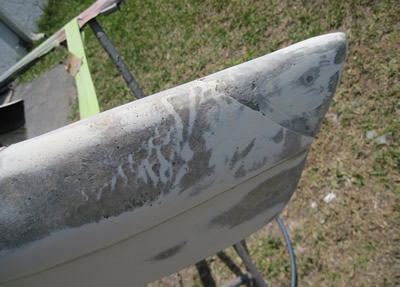
These are spider cracks in the very front of the bumper. You have to grind them through the gel coat to the glass, to remove the structure crack, before filling.
|
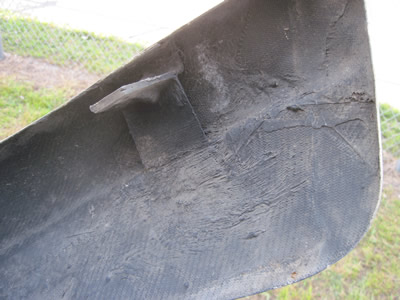
Here's the corner piece which is added in the mold.
|
It got hot!
|
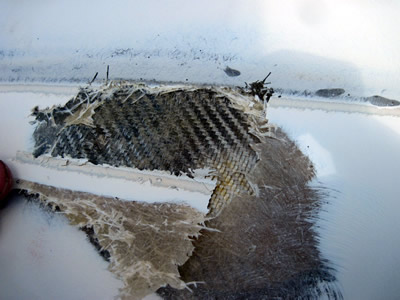
It really got hot and blistered the base 3/4 oz mat. Luckily the cloth is still hanging there so we will re-cover the cloth with fresh mat for strength and integrity.
|
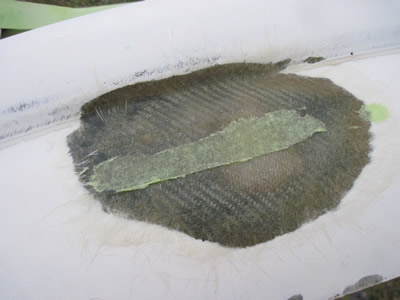
The patch is complete. You can see some tape residue. This is because we use two paint sticks on each side to flatten the surface. We use clamps to hold the two sticks flat. This will be lightly sanded and filled with body filler.
|
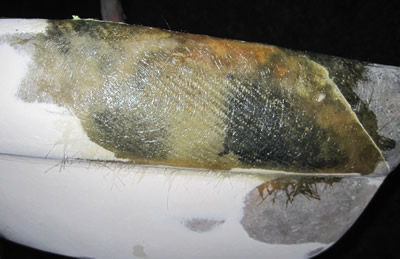
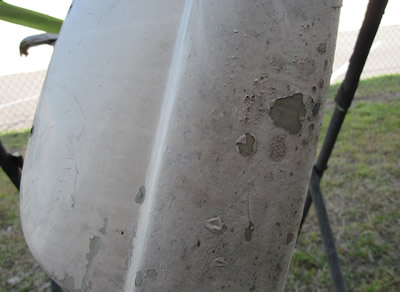
Another part where the heat penetrated the material causing a giant blister between the two layers of material.
|
Because the inside is in pretty good shape we don't want to get any excess Duratech (this is thick shit) in the original cloth weave patterns.
|
A little bit of bodywork and it's ready for paint.
|
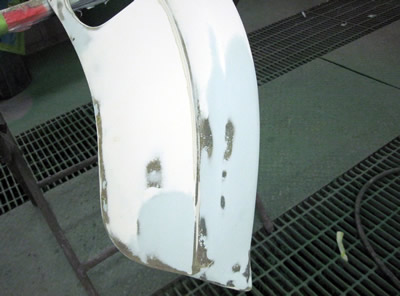
The part has not gained any weight...
|
Even with the Duratech primer applied it's only making up for what we ground off. In this photo you can see shades of black, this is the black spray paint that we use for guide coat sanding.
|